A Stitch is Worth a Thousand Words, Part II: The Bodice
Constructing the Bodice
[There will be time] for a hundred visions and revisions,
before the taking of toast and tea.
-“The Love Song of J. Alfred Prufrock” by T.S. Eliot
Visions and Revisions
Measuring Up
It is worthy to note that all measurements should be taken with the appropriate undergarments. I took my measurements while wearing a pair of short stays, which is a historical reproduction garment that stops just under the bust.
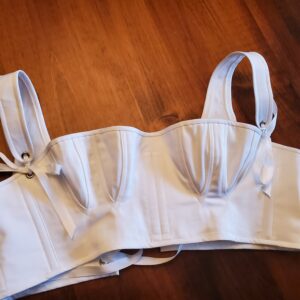
- The popular silhouette of the particular period yields different cuts than modern clothing
- There are no standard sizes and all gowns are made to fit a specific person
Stitching the Bodice Pieces Together
Note: I began working on this gown before realizing that I would be making a blog series for it. As a result, I have few photos of putting the bodice pieces together. However, all future steps will be documented!
To help understand how I constructed these pieces, please check out the video below. The video features four short clips that highlight the basic stitches I used to complete the bodice:
- Back Stitch
- Basting Stitch
- Running Stitch
- Gathering Stitch
Please note that I used a contrasting thread color and made larger stitches for better viewing purposes.
Basic Stitches How To Video
Cutting the Fabric
With my measurements in mind, I cut out the lining (the white muslin interior) and the fashion fabric (the green silk). There were five pieces for each set: the center back, two shoulder straps, and two side pieces.
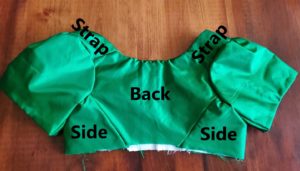
I stitched the fashion fabric pieces and lining lining pieces together separately. Each piece was stitched together with a back stitch.
Joining the Fashion Fabric to the Lining
To join the fashion fabric to the lining, I matched both pieces together with the right sides facing each other. “Right sides” refers to the outer facing fabric (or the fabric you see). I stitched the neckline together and then flipped the fabric right side out.
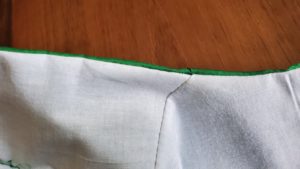
To prevent the two fabrics from moving, I stitched a basting stitch, which is a large, temporary running stitch, around the armscye (armhole). From there, I simply turned under the raw edges (or the frayed bit of fabric) of the front lining and fashion fabric and stitched them down.
Attaching the Sleeves
As discussed in my previous post, the sleeves of this gown vary in length, and there are examples of long sleeves, three quarter length sleeves, and short sleeves. I have opted to create short sleeves, as seen in the portrait of Mrs. John Hoff.
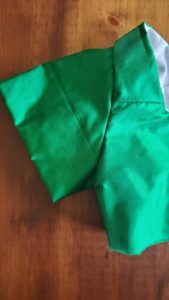
To create the sleeves, I cut out two pieces of fashion fabric and two pieces of lining fabric. I then placed one lining piece and one fashion fabric piece together.
At the top of the sleeve, or where the top of the shoulder would be, I stitched two rows of running stitches. At the end of the row, I left the thread unknotted. These stitches will be used to gather the sleeve into place in the armscye.
Next, I stitched the side seams together with a back stitch, joining the fabric in a cylindrical shape so that the lining was facing out. I finished the sleeve by hem stitching the bottom of the sleeve.
With this complete, I turned the sleeve right side out to reveal the fashion fabric. I placed each sleeve into the armscye with the bodice lining facing out. Using those threads I left unknotted, I pulled the thread, gathering up the fabric in slight ruffles at the top of the shoulder. This eased the fabric into place in the armscye, which enabled me to stitch the sleeve to the bodice using that handy back stitch.
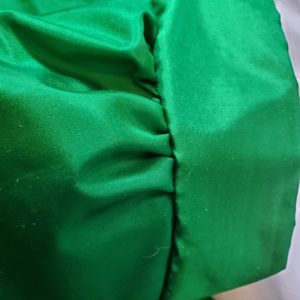
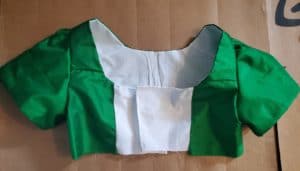
Once that was complete, I flipped the bodice over to reveal an almost complete bodice.
