A Stitch is Worth a Thousand Words, Part III: The Skirt
Creating the Skirt
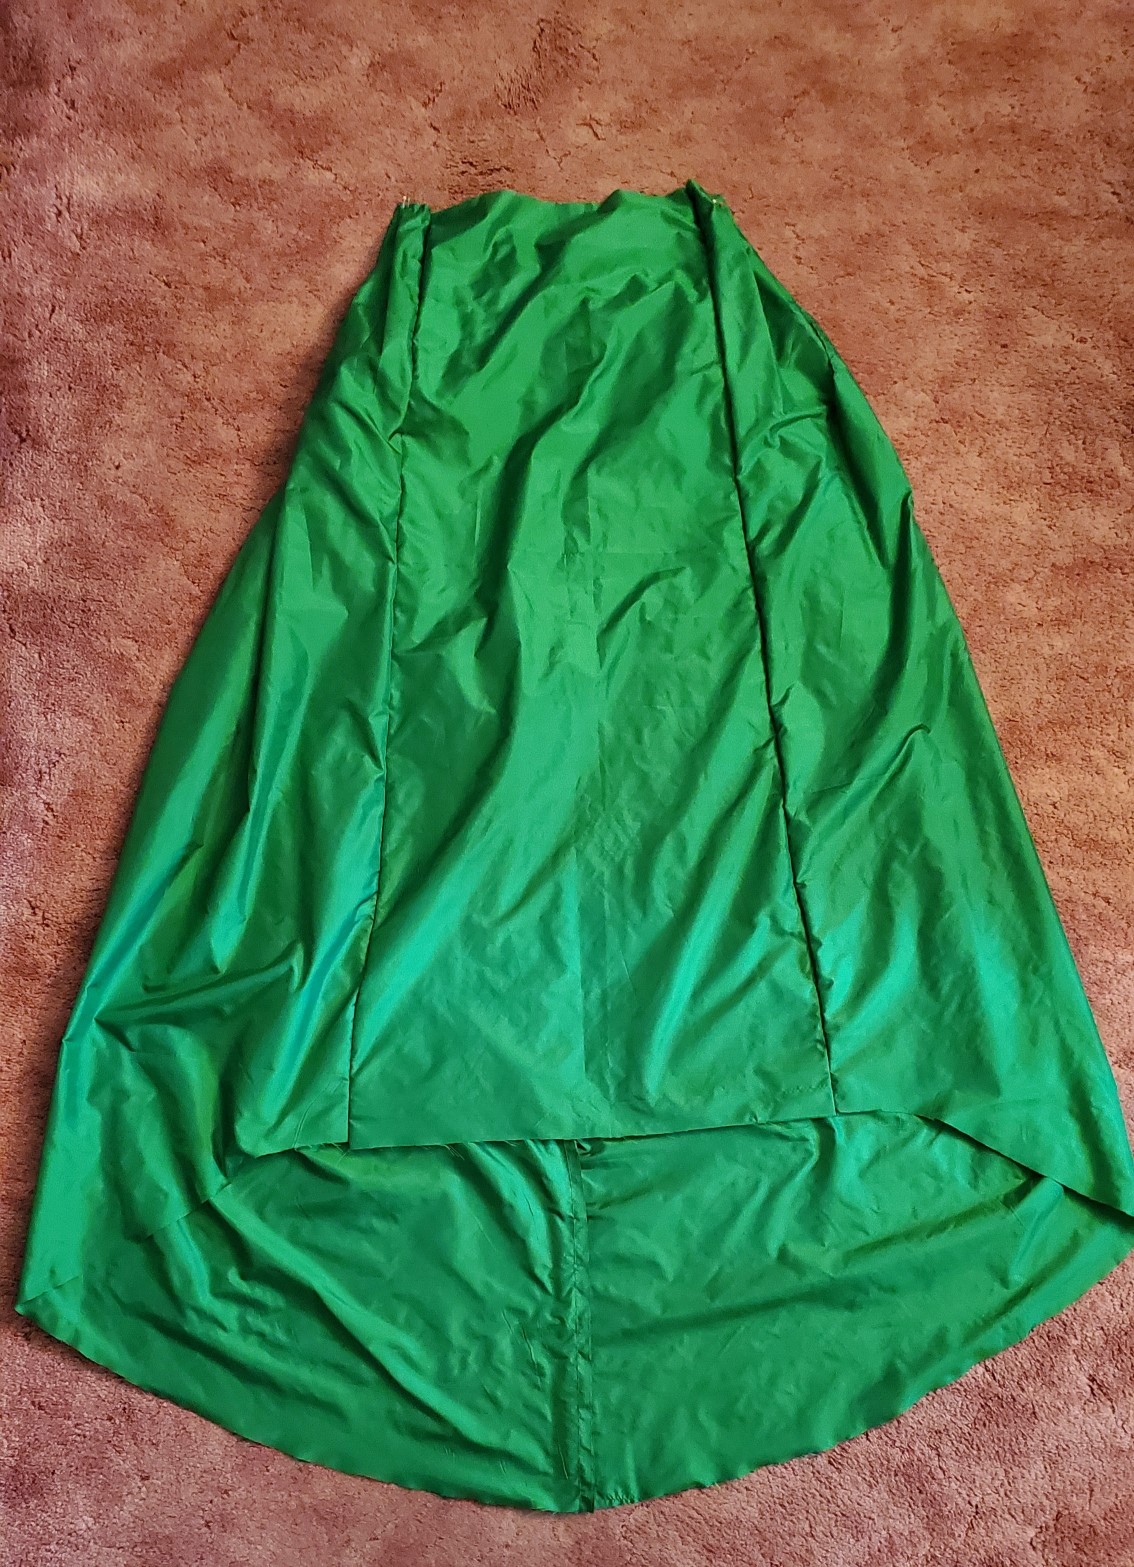
When it comes to this gown specifically, the skirt is the thing. Its free-form nature hangs off the body to highlight free movement and the natural form desired with the Neoclassical movement. Because the skirts are attached as a high Empire waist just under the bust, they also elongate the body in a statue sized illusion. As important as this part of the gown is, it is also equally fun to construct.
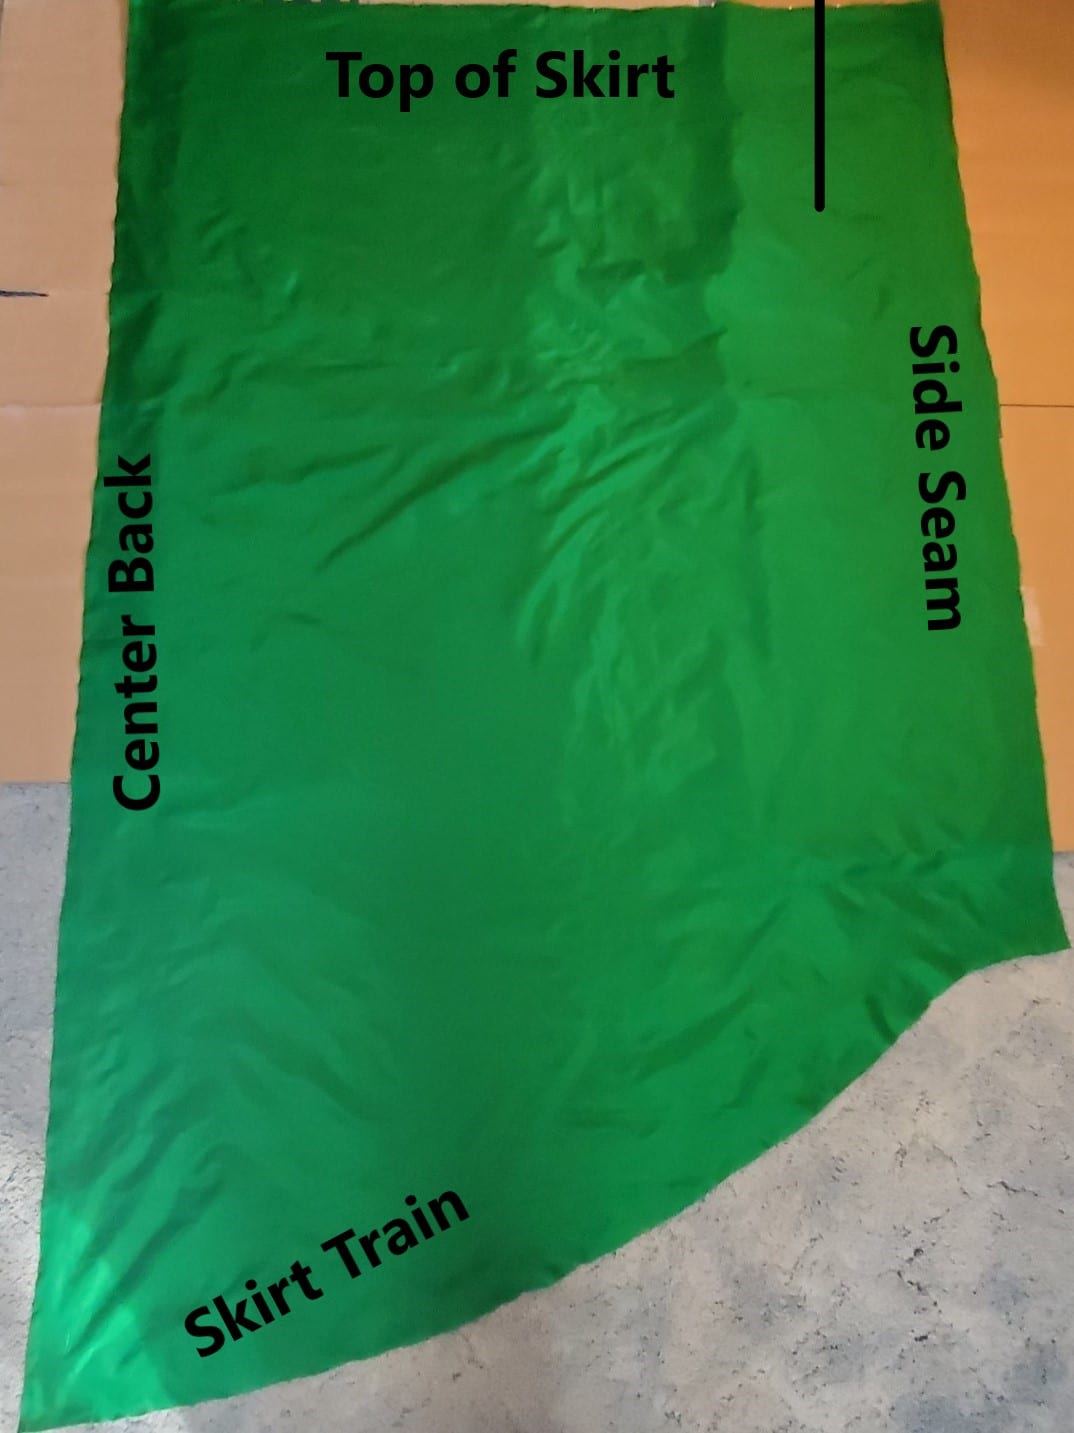
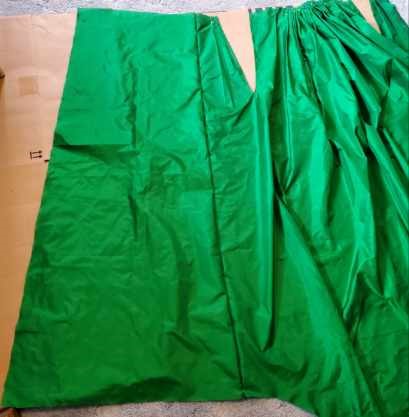
My first step is to focus on two panels that make up the back part of the skirt. I cut the two panels in such a way that added a small train to the back of the gown. My decision for this is based on the 1798 green silk gown in our collection, for it features a small train.
Creating a Pocket Slit
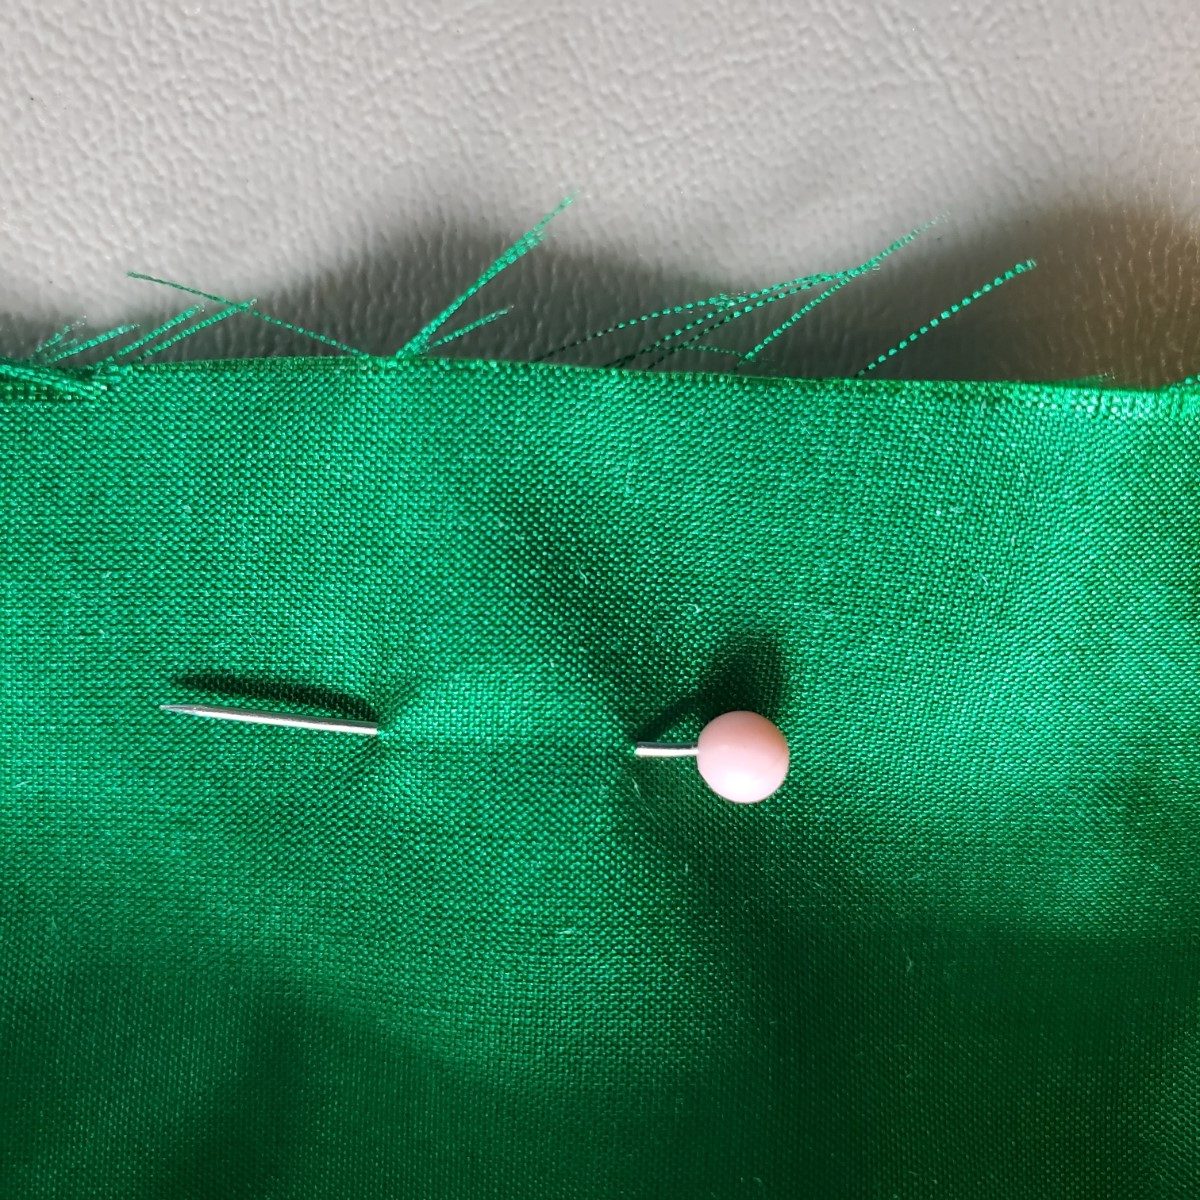
The first order of business is to create a pocket slit (as indicated by the black slash line in the photo above). I cut a 12 inch line at the part of the skirt that will eventually fall right at my hip.
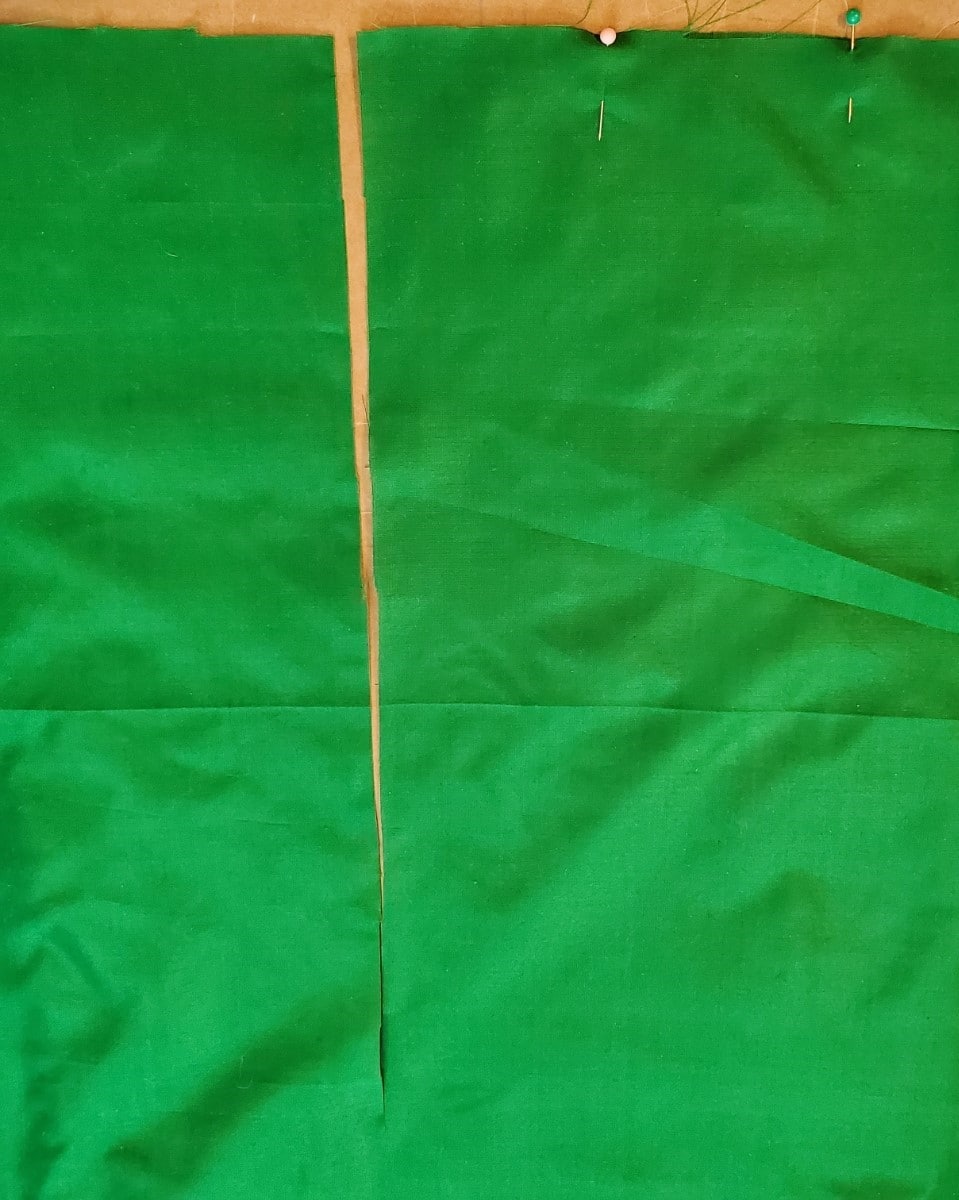
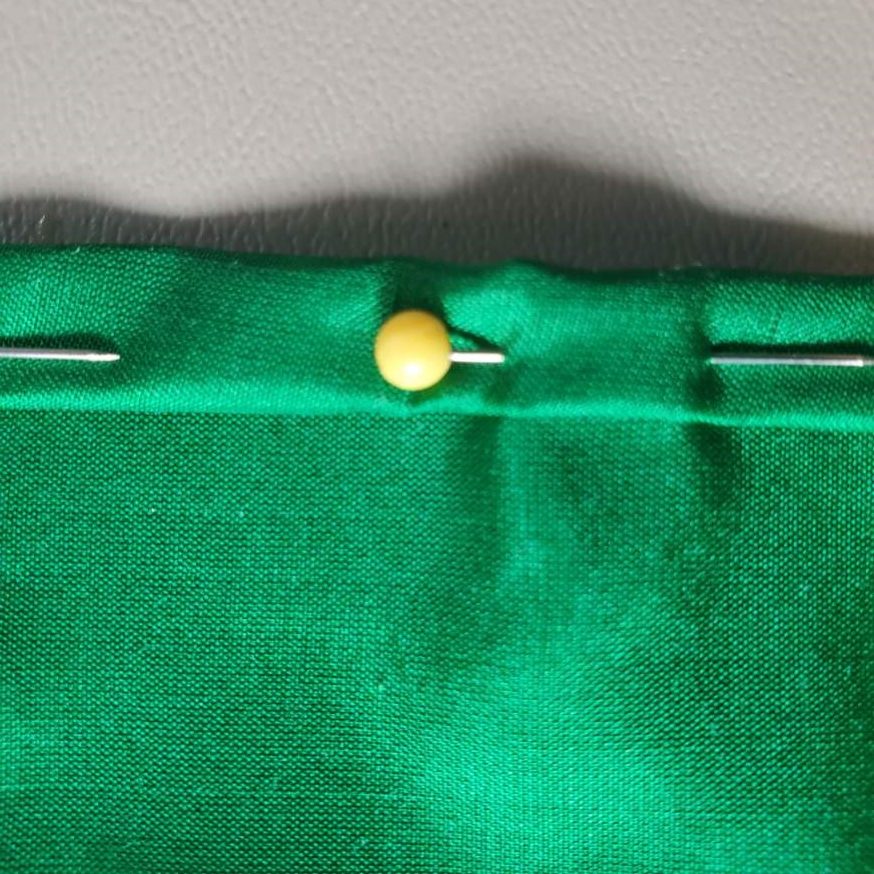
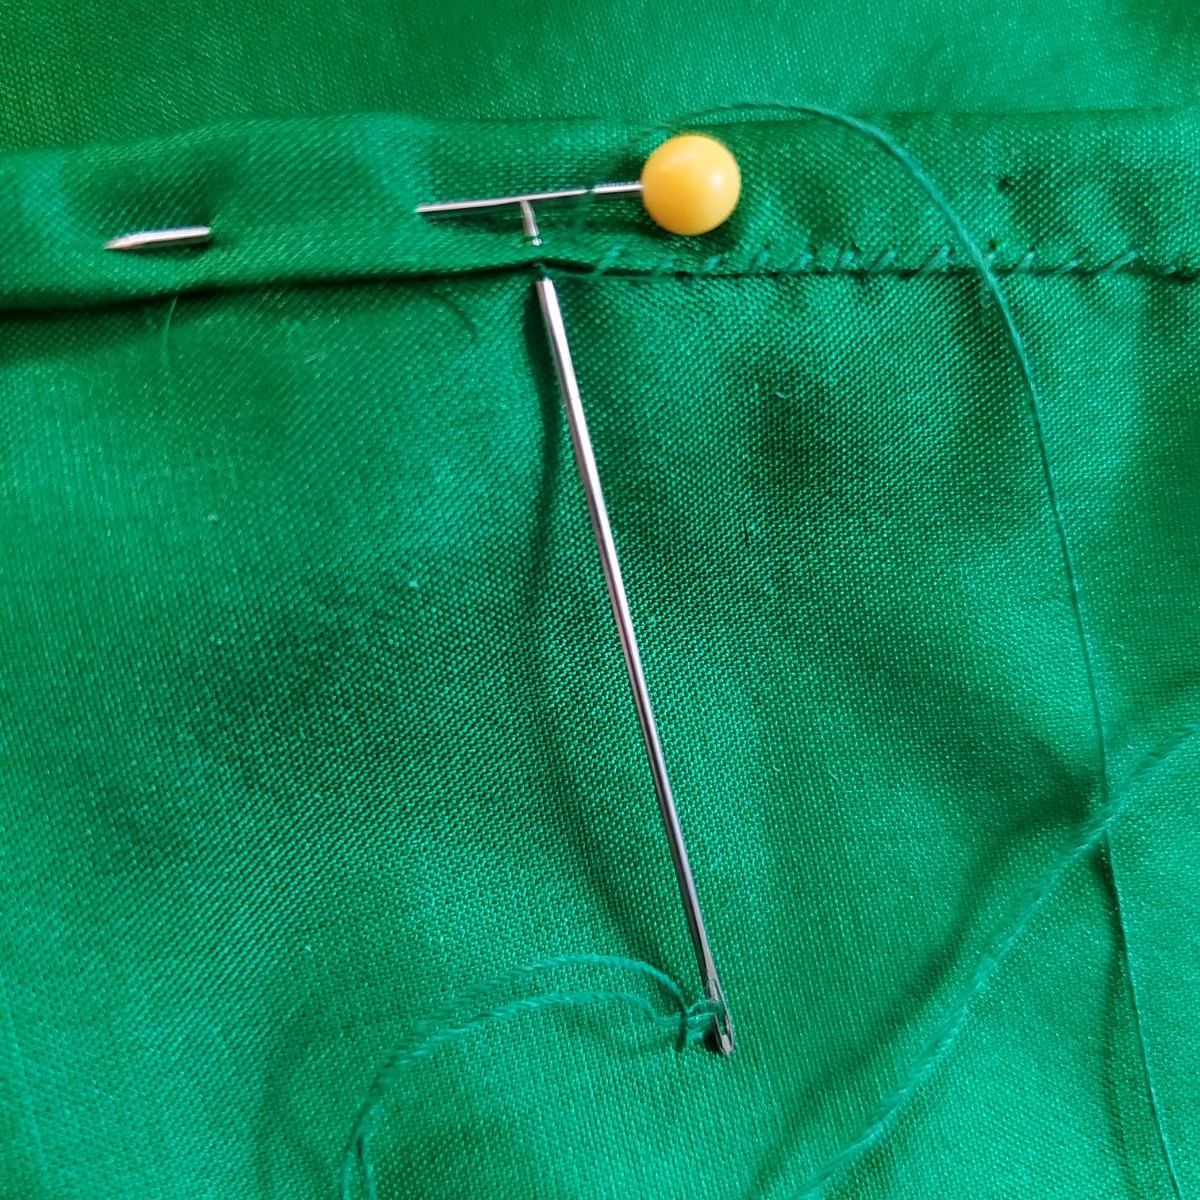
After cutting the pocket slit, I folded the raw edges in on itself to encase the raw edge. Then, I hem stitched the edge. When stitching this pocket slit, I was careful to grab only one or two threads of the fabric. By doing this, I ensured that there will be a barely visible stitch on the right side of the garment.
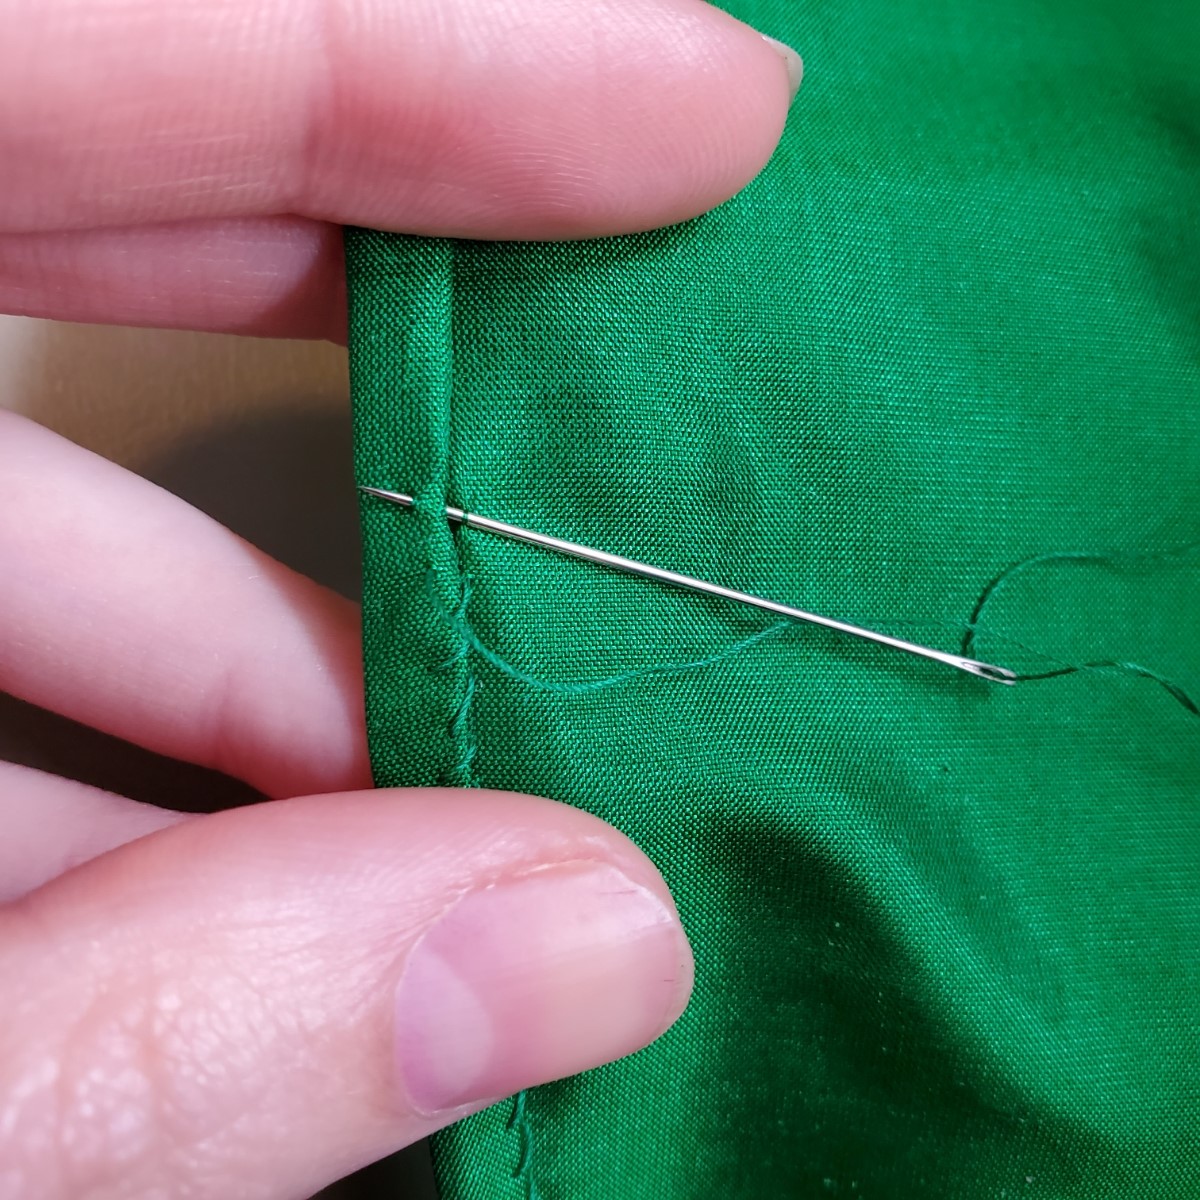
Once everything is stitched down, you will have two hemmed edges that make up the pocket slit! Take that, 21st century women’s clothes!

Just Keep Pleating! Just Keep Pleating!
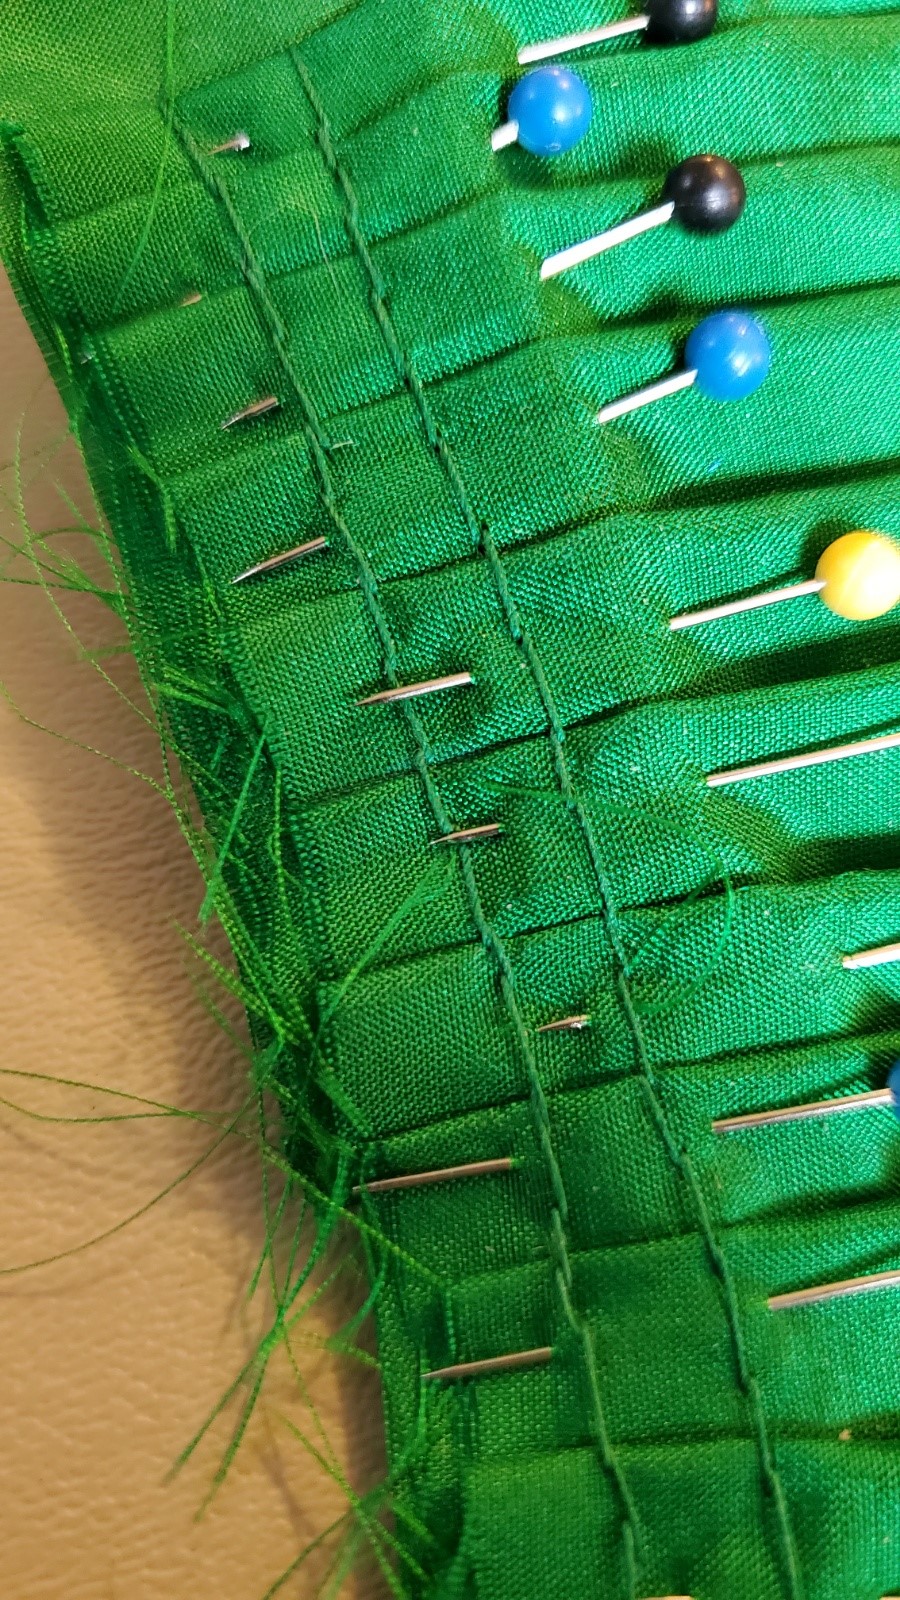
While the gown itself is free-form in nature, there is still a bit of volume and airiness added to the skirts with pleats. Pleating is the practice of bringing in a larger piece of fabric by folding it up in even, measured increments until the width of the fabric is reduced to a smaller, more appropriate size based on your measurements. In this case, I’m pleating down one skirt panel to fit half the measurement of the back of the bodice.
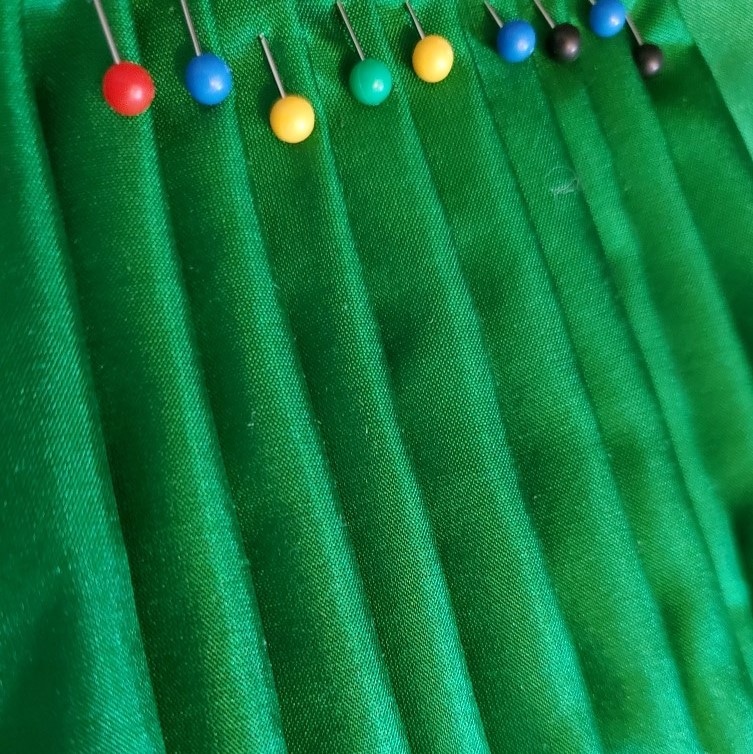
After the pleats are pinned, the next step is to stitch the pleats down with a back stitch. I elected to stitch two rows of back stitches. This is just a personal preference of mine, as I like to ensure that the pleats are secure.
Stitching the Two Panels Together
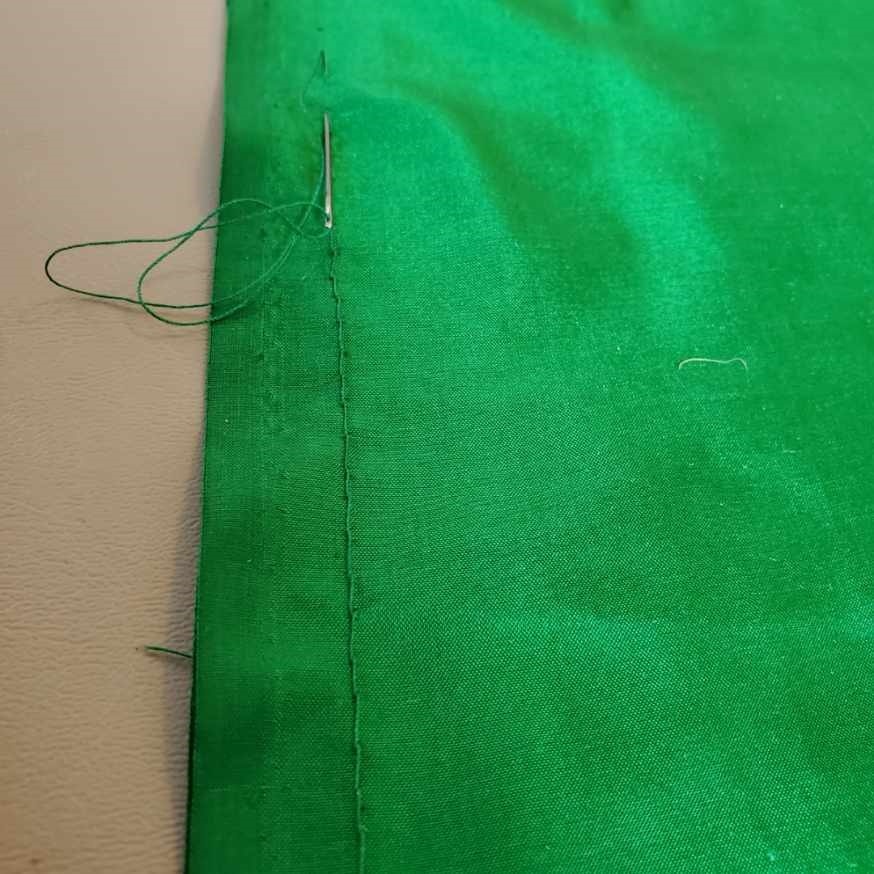
The above steps will have to be repeated for the other skirt panel. Once both panels were completed, I joined the two panels together at the center back. Because I used the selvedged edge (a finished edge of fabric) for the center back seam, I did not have to worry about encasing raw edges in a hem stitch. Instead, I simply stitched together the two panels using a back stitch.
When used correctly, selvedged edges can save time with the construction of a garment. They are especially a life saver with long skirt seams.
Cutting and Attaching Front Skirt to Back Skirt
After attaching the two back panels of the skirt, I cut out the front skirt. The front skirt has no pleating.
I joined the two edges of the front skirt to the side seams of the back skirt with a mantua-maker’s seam.
Now, allow me to tell you a bit about the glorious mantua-maker’s seam.
Found in gowns in the 18th and 19th centuries, the mantua-maker’s seam is an efficient, one-step stitch that encases the raw edges of the fabric whilst also attaching two pieces of fabric.
To complete a mantua-maker’s seam, I placed the front panel over the back skirt panel with right sides together.
I then folded under the raw edges.
Afterwards, I hem-stitched the edge down. One stitch got the job done!
With a completed skirt (save for the hem at the bottom), it’s time to join the bodice to the skirt. The gown is coming together! Stay tuned for the next post.