A Stitch is Worth a Thousand Words, Part IV: Attaching Skirt to Bodice
And Sew It Begins… to Come Alive!
With the bodice and skirt nearly completed, it’s time to put the pieces together. This is where the magic truly begins, for this is the part where the gown starts looking like something one could wear.
Joining the Skirt to the Bodice
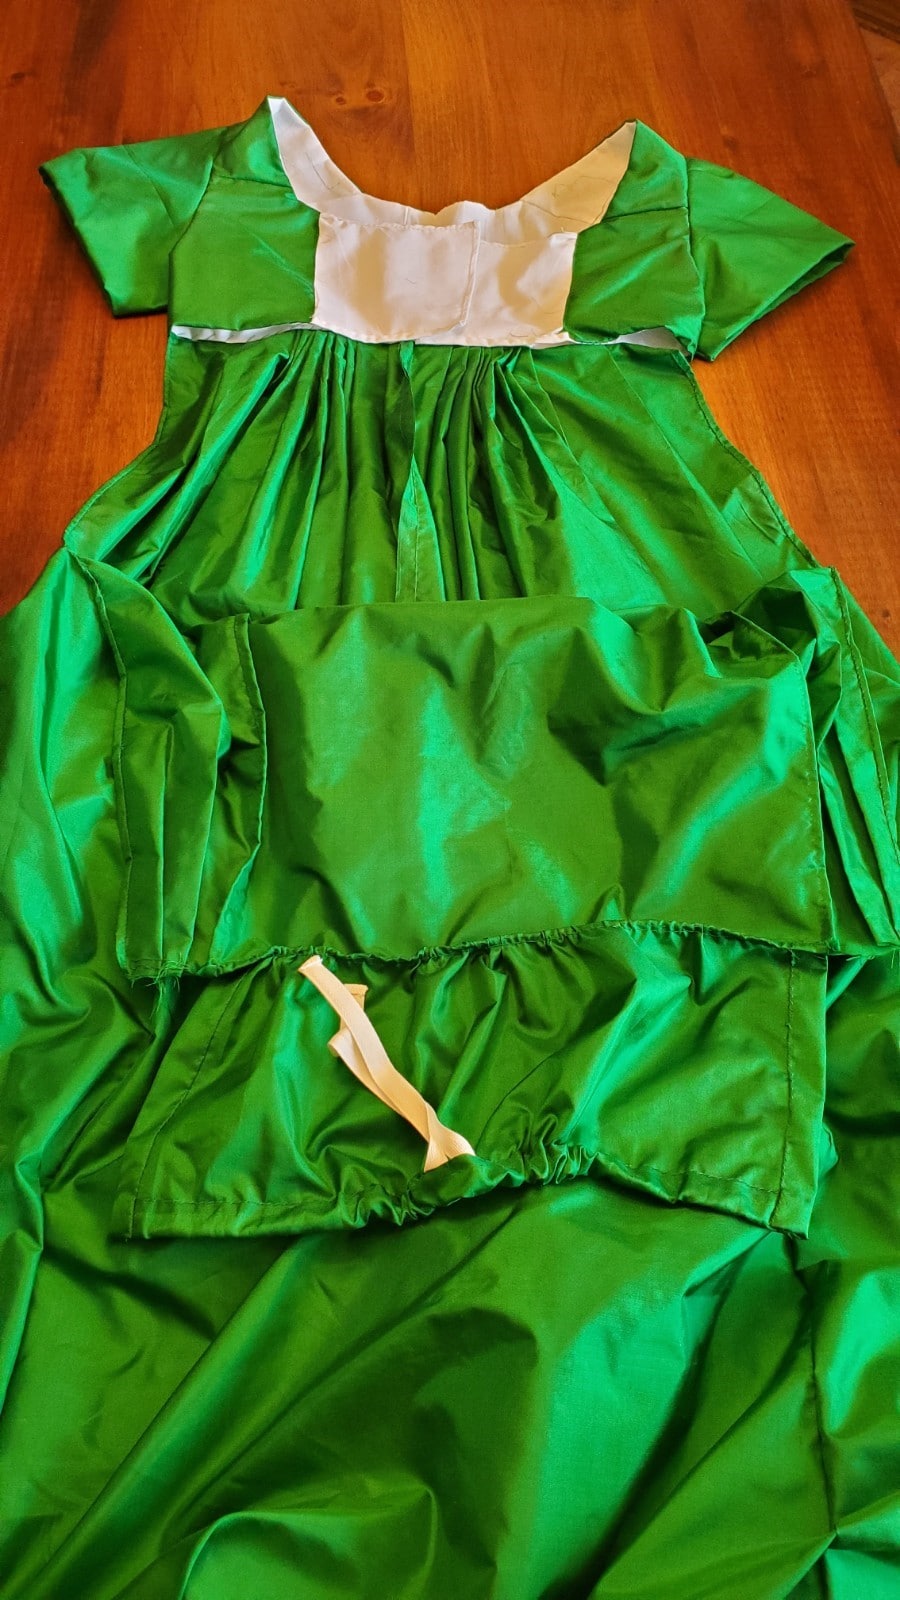
To join the skirt to the bodice, I laid the skirt down first with the back skirt (the pleated section) facing me. Then, I turned the bodice upside down so that the unfinished edge was at the top. I placed the back of the bodice on top of the skirt, matching the raw edges together. After a bit of adjusting, I centered the bodice to the back of the skirt and pinned it together.
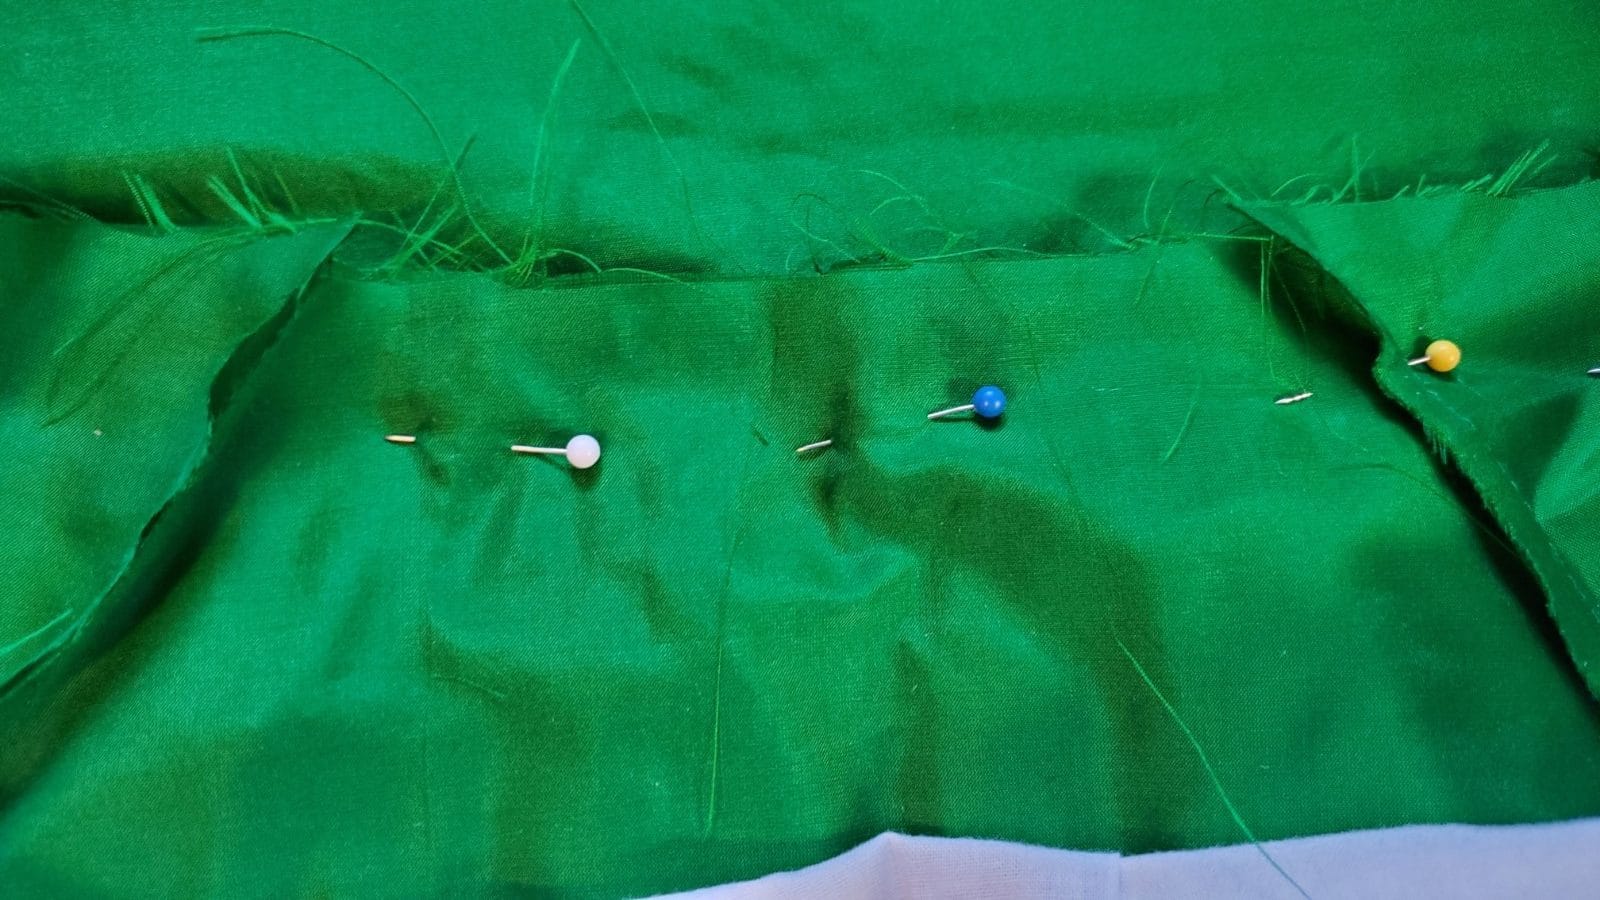
To attach the two pieces, I used a back stitch. I stitched only the silk fabric together and did not stitch the lining of the bodice. This is important, as the lining will be used in the next step to encase the raw edges. To ensure I would not stitch the lining, I simply folded the lining up and out of the way.
Encasing the Raw Edges
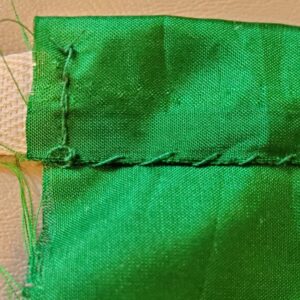
After attaching the bodice to the skirt, I turned the bodice right side up and folded in the lining. By doing this, the raw edges of the silk fabric are actually hidden away underneath the lining fabric. To encase everything, I did a simple hem stitch.
Completing the Bodice
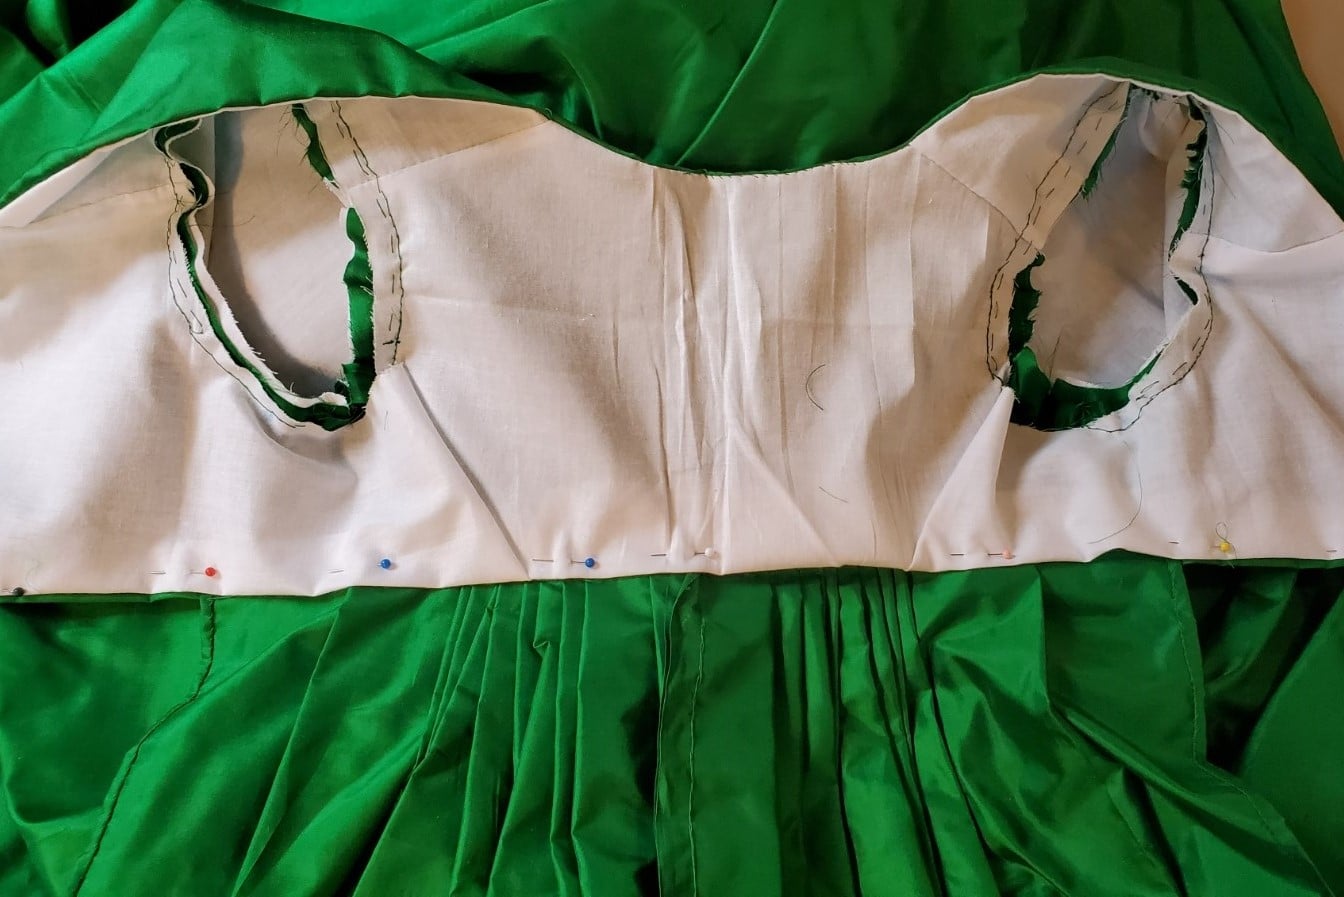
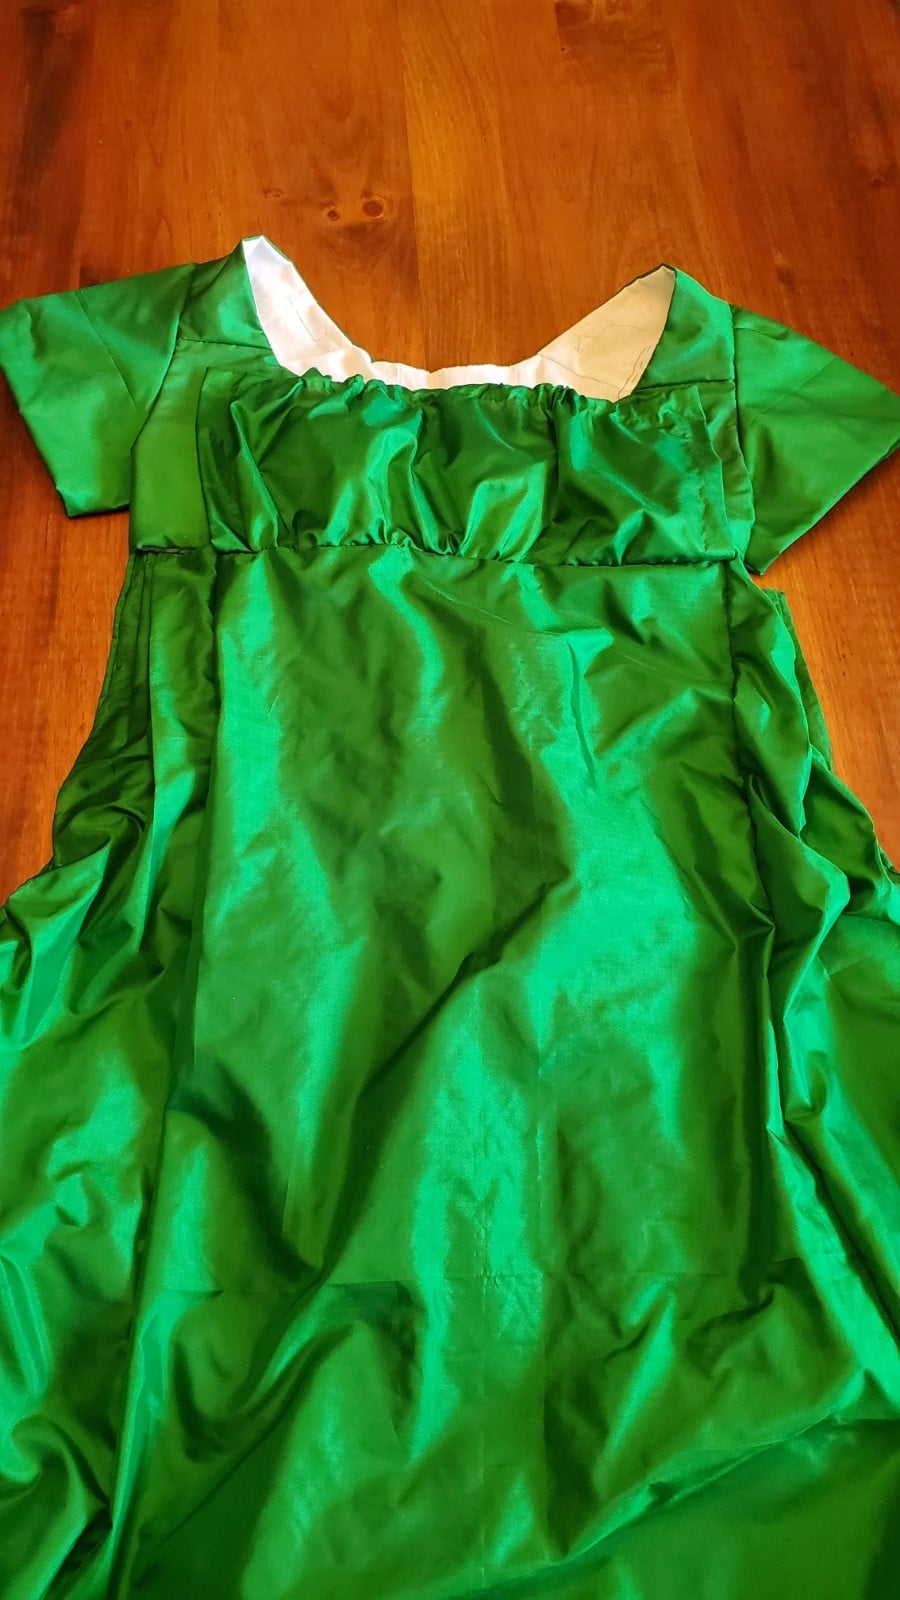
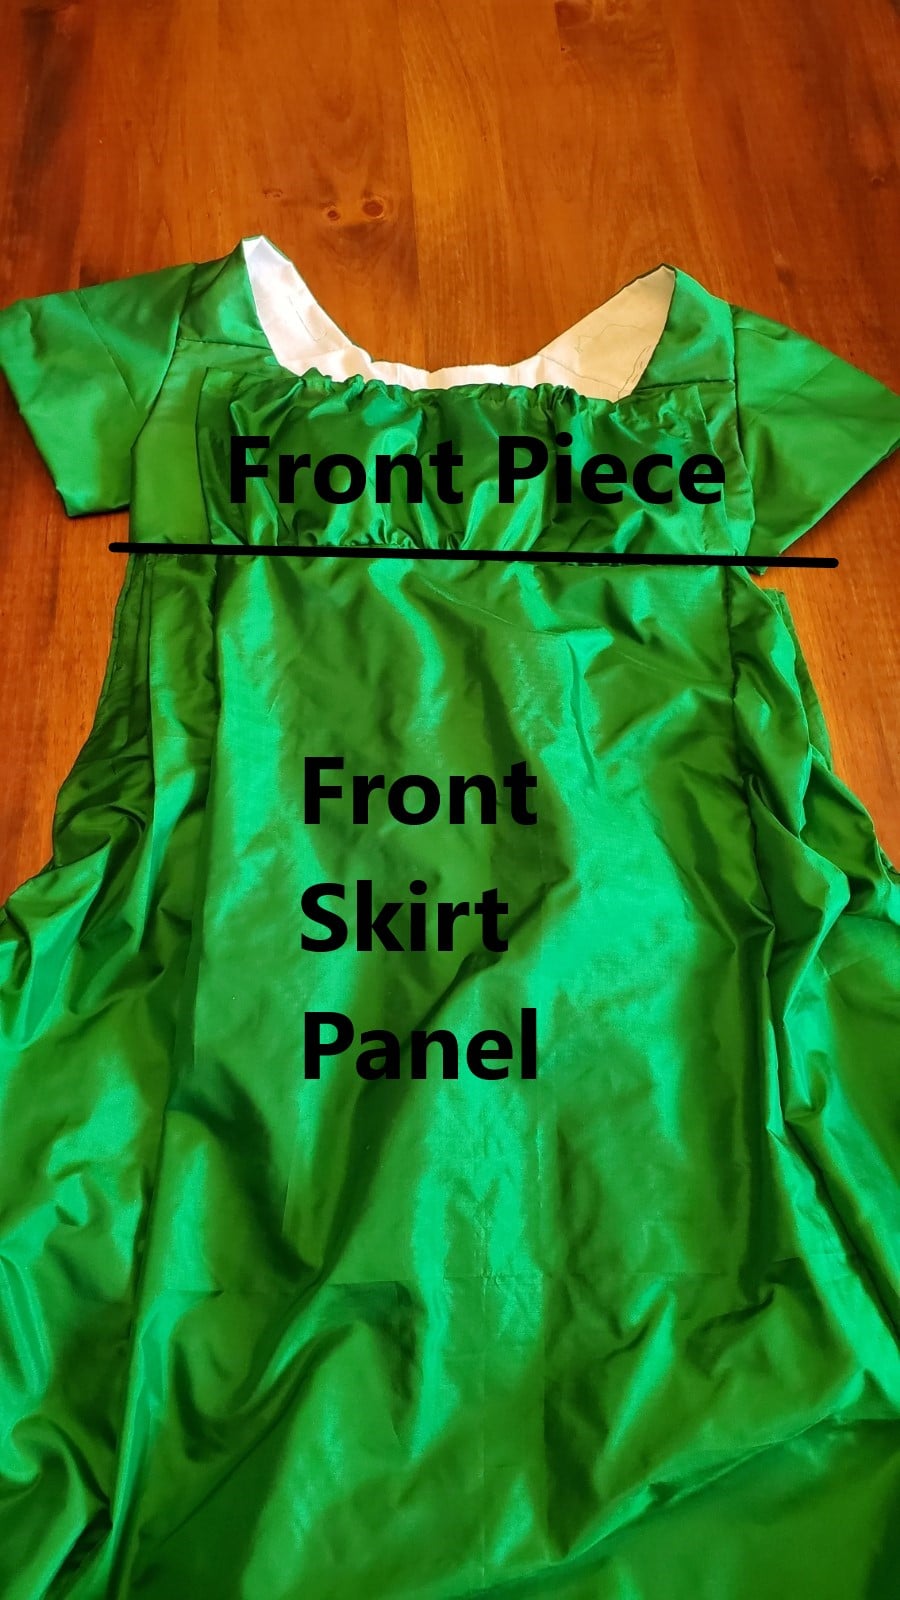
Remember the white lining that stuck out in front of the bodice in my bodice construction post? Well, now we’re going to take care of that bit. This portion is the gathered bodice that will eventually be sewn onto the front of the skirt, thus coining the term “bib front” or “apron front.”
When this is all finished, the bodice will be attached to the back of the skirt whereas the front of the skirt will essentially be a drop front “apron” style. I will put on the gown by putting my arms through the sleeves. At this step, the back skirts of the gown are where they’re supposed to be because they are attached to the bodice. The pocket slits at my hips create the dividing line between the back and front part of the skirt. The pocket slits enable the “drop” of the skirt front. At this point, the front will fall over on itself. I will be able to bring up the front part of the skirt with the gathered bodice attached to it like one would put on an apron. With a bit of tying and pinning, it will all come together to complete the gown.
With that image in mind, let’s proceed with the construction of the gathered bodice.
Constructing the Gathered Bodice
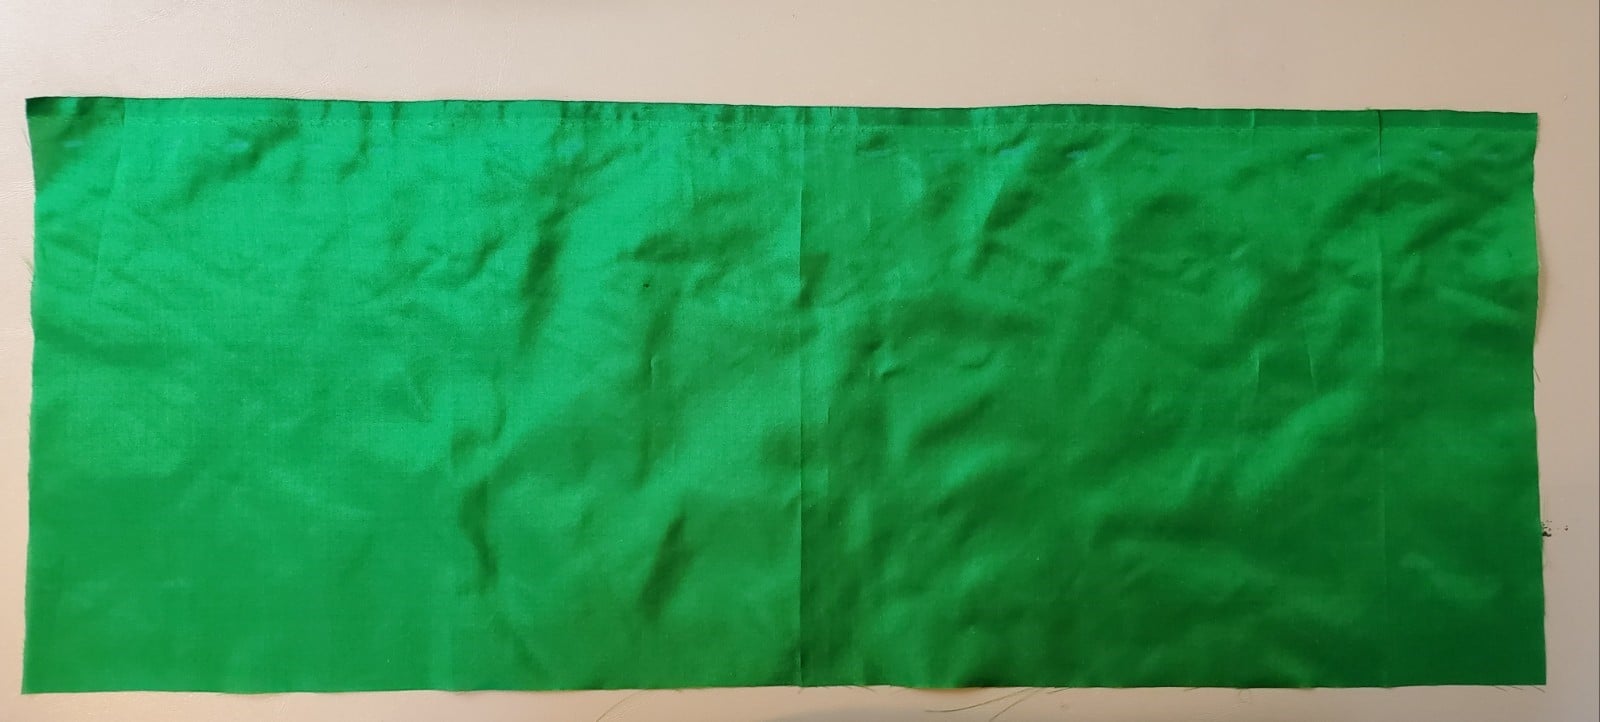
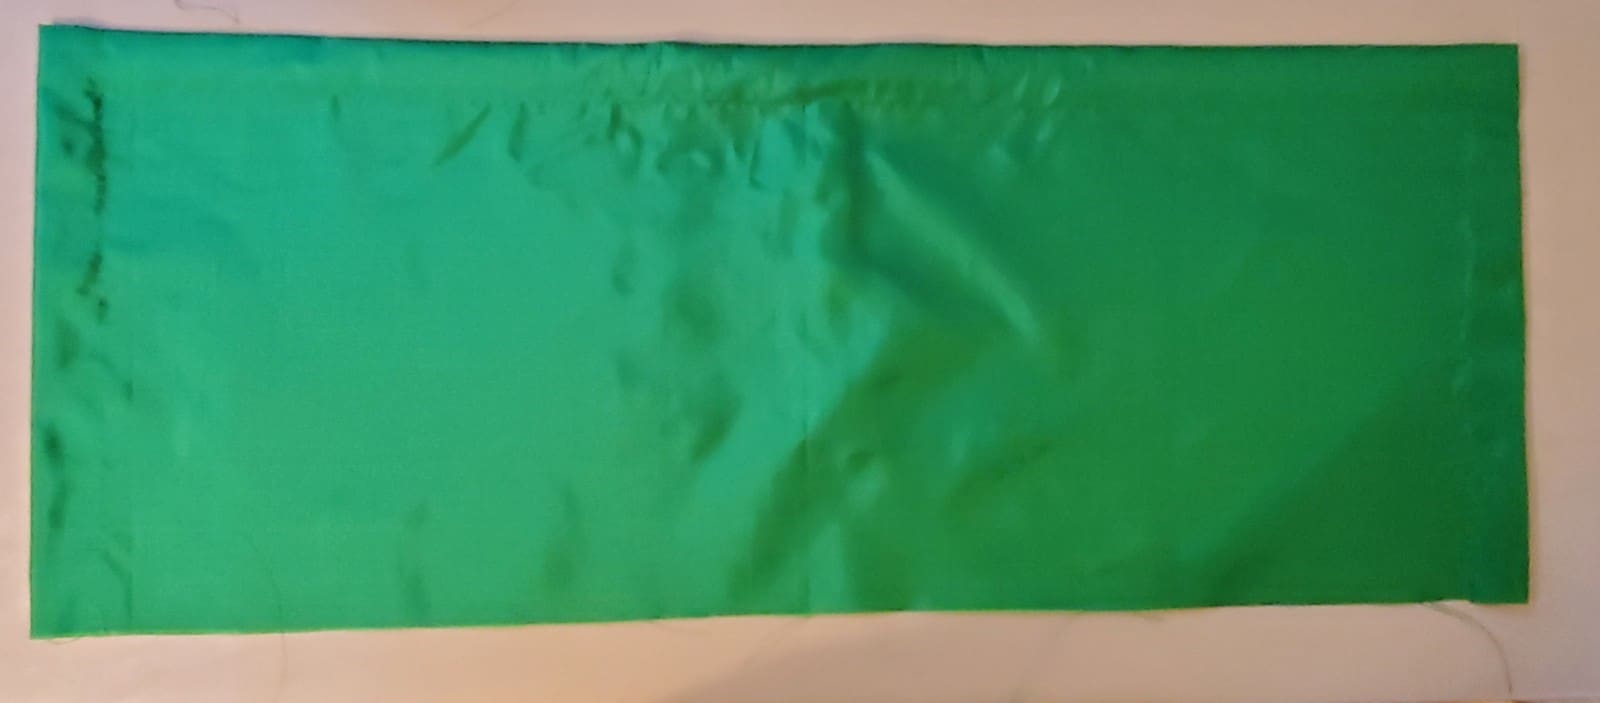
First, I cut a long rectangular piece of silk fabric.
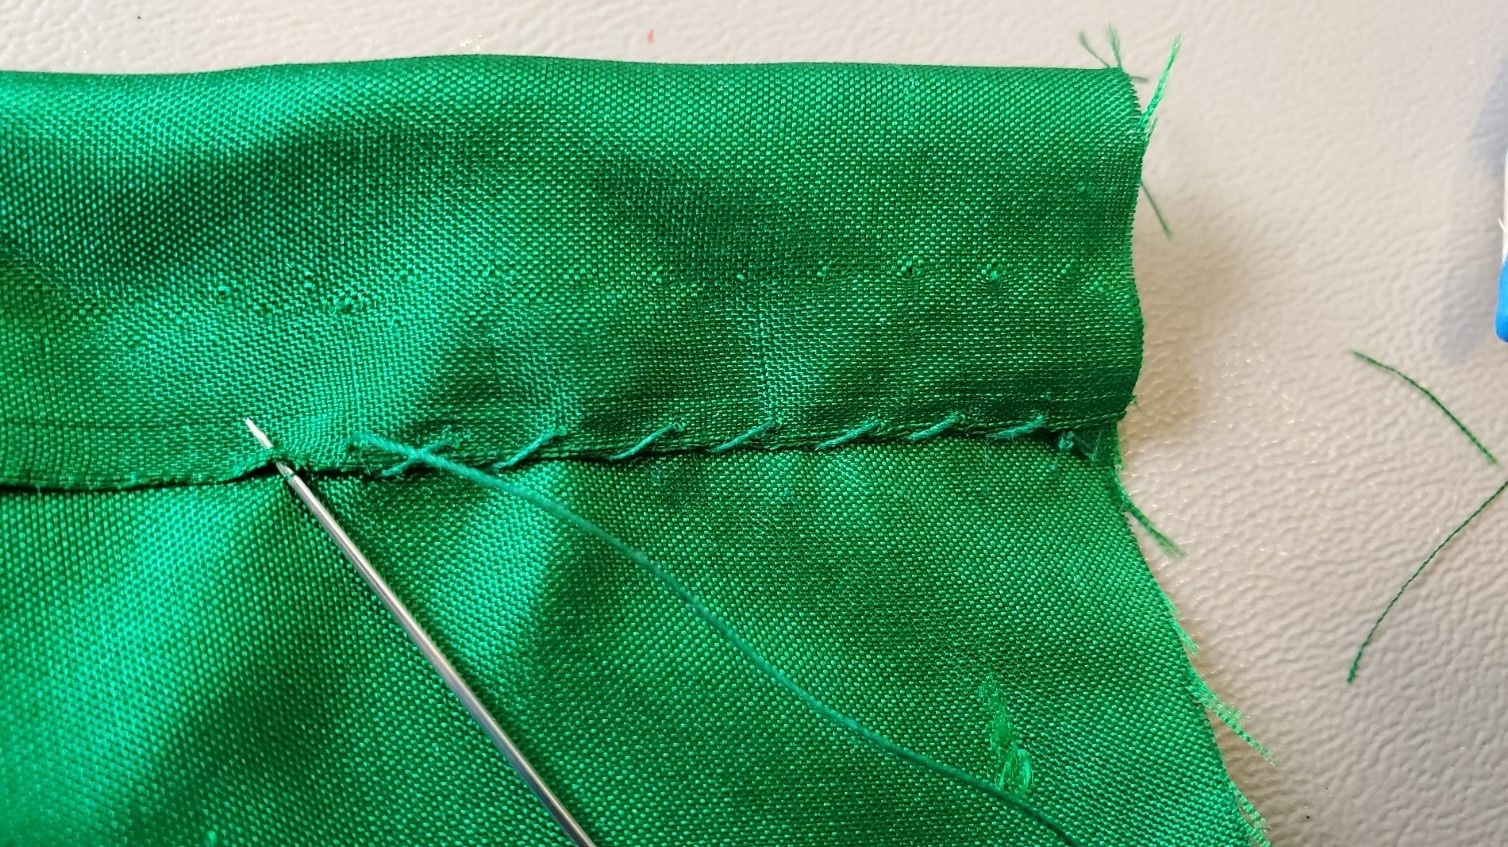
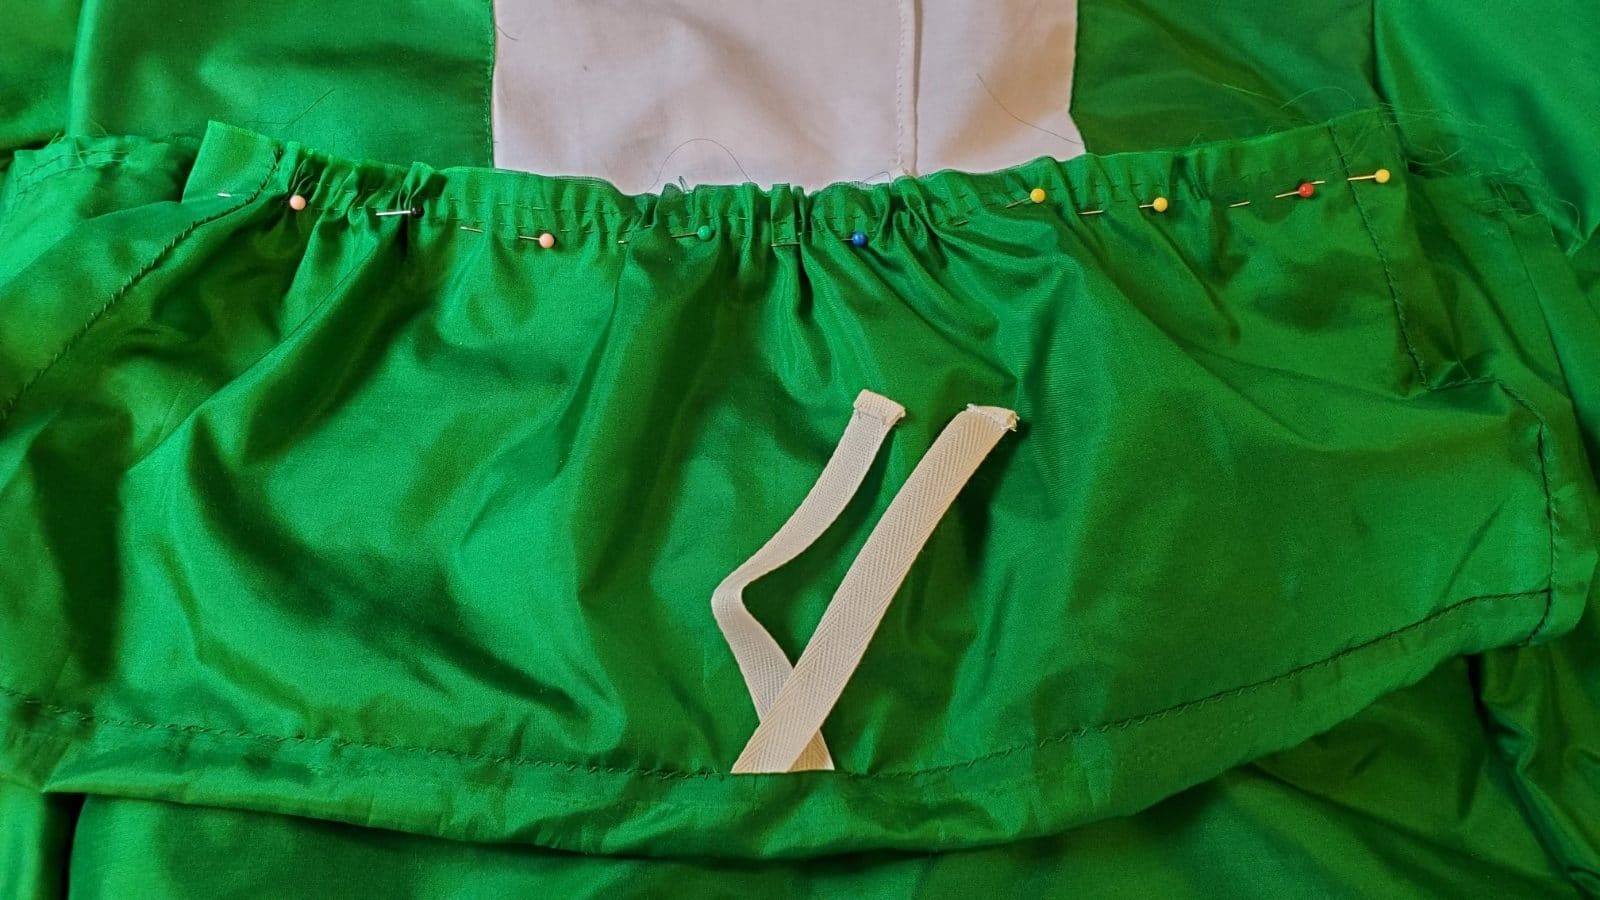
With my piece cut, I had to create a channel for tape ties that would be used to gather the fabric and tie it up. I folded down the top and completed a hem stitch. (Note: because I used a selvedged edge, I did not have to encase any raw edges.) I hem stitched until I reached the middle section, stopped sewing, skipped about an inch, and began hem stitching to the other end. I left a gap in the middle for the tape ties to stick out.
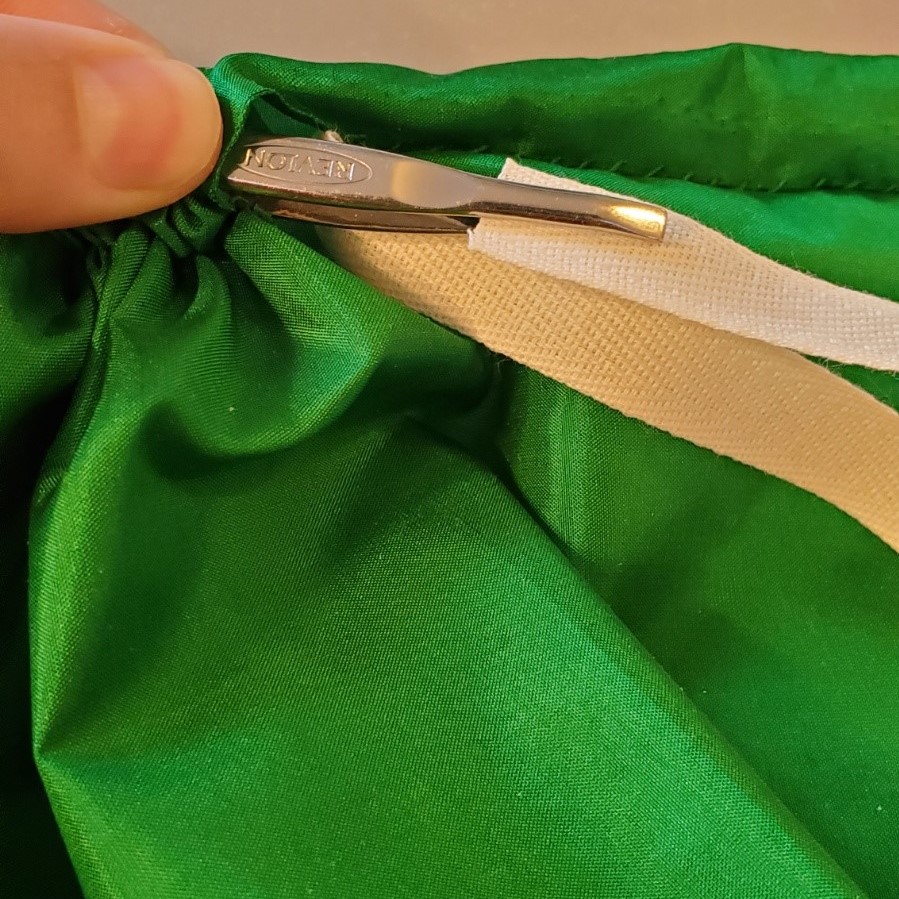
Once I stitched my channel, I cut two lengths of cotton tape ties and began to snake it through the channel. You can pull ties through channels in a variety of ways. I simply used a pair of tweezers. I drew the tweezers through one end of the gathered bodice front until I reached that gap in the middle. From there, I took hold of the cotton tape ties and pulled the tape through.
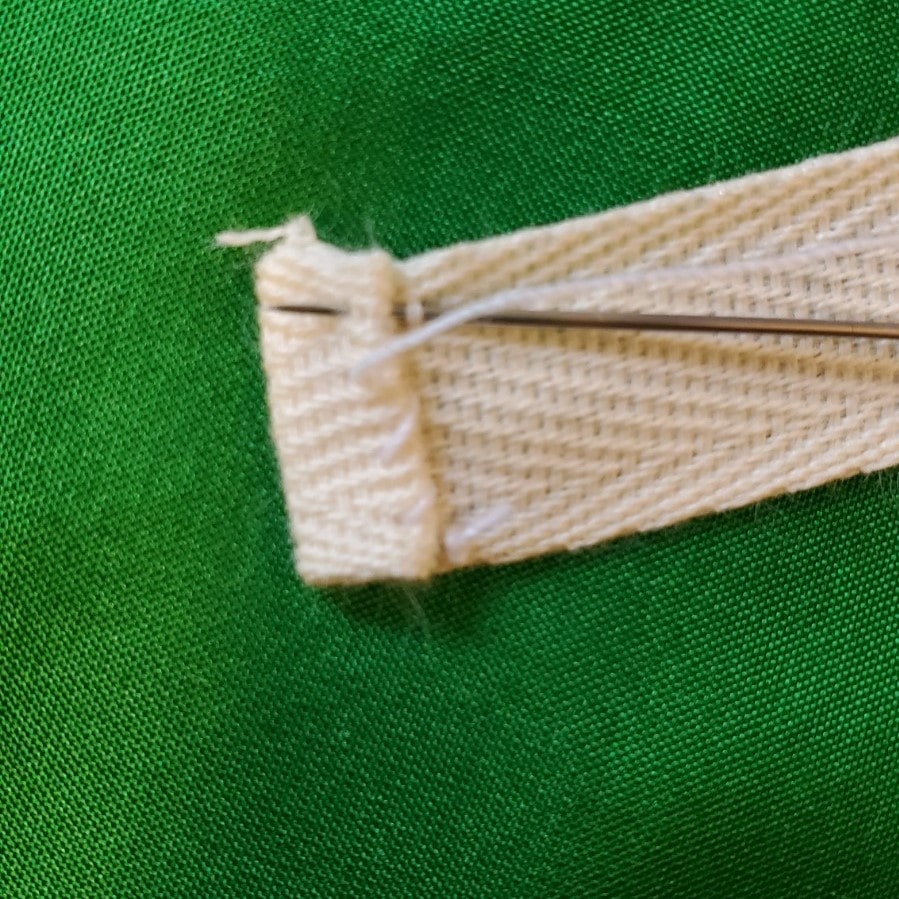
To prevent the ends of the tape from fraying, I folded the tape in on itself and did a quick tack stitch.
At the two ends of the gathered bodice front, I back stitched the tape to the fabric. This will ensure that the tape doesn’t move at the end when you pull the ties at the middle. After that, I trimmed the excess cotton tape that was sticking out of the fabric.
Next, I hem stitched the two sides of the gathered bodice front.
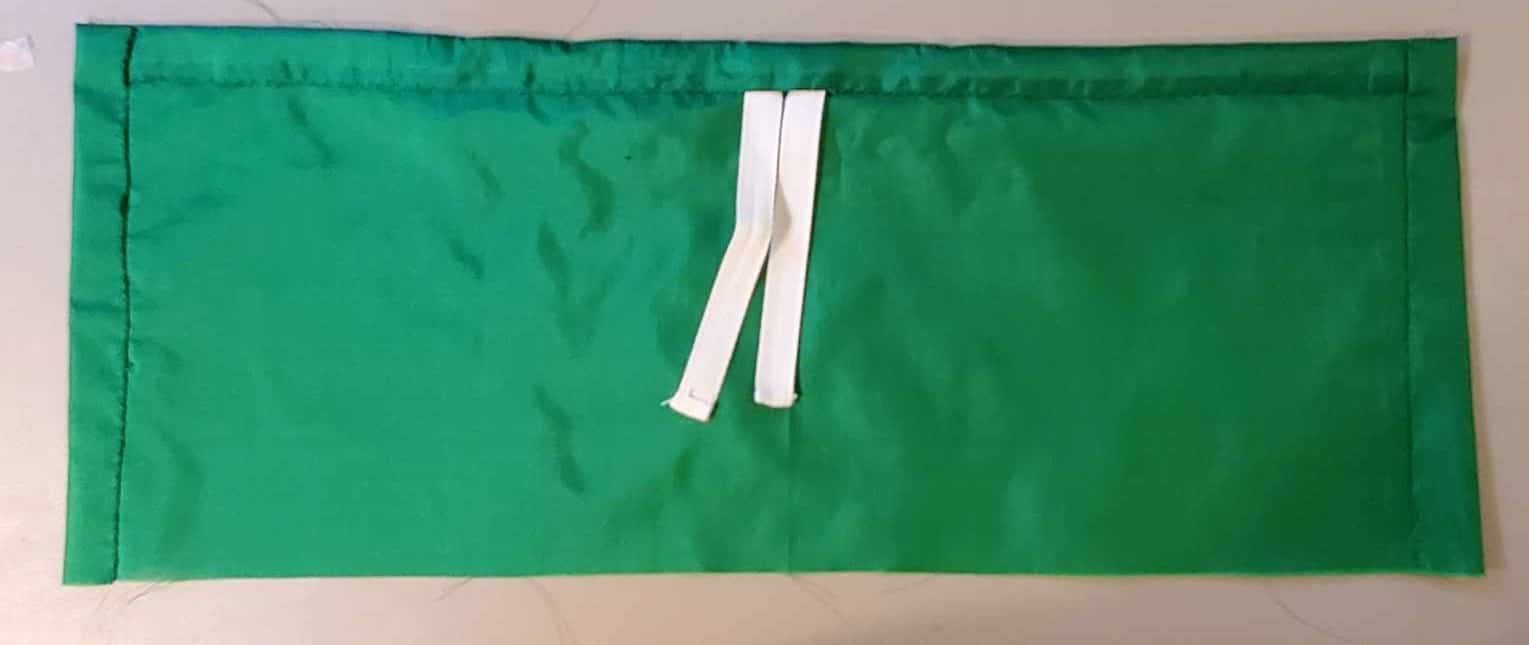
Attaching the Bodice Front to the Front Skirt Panel
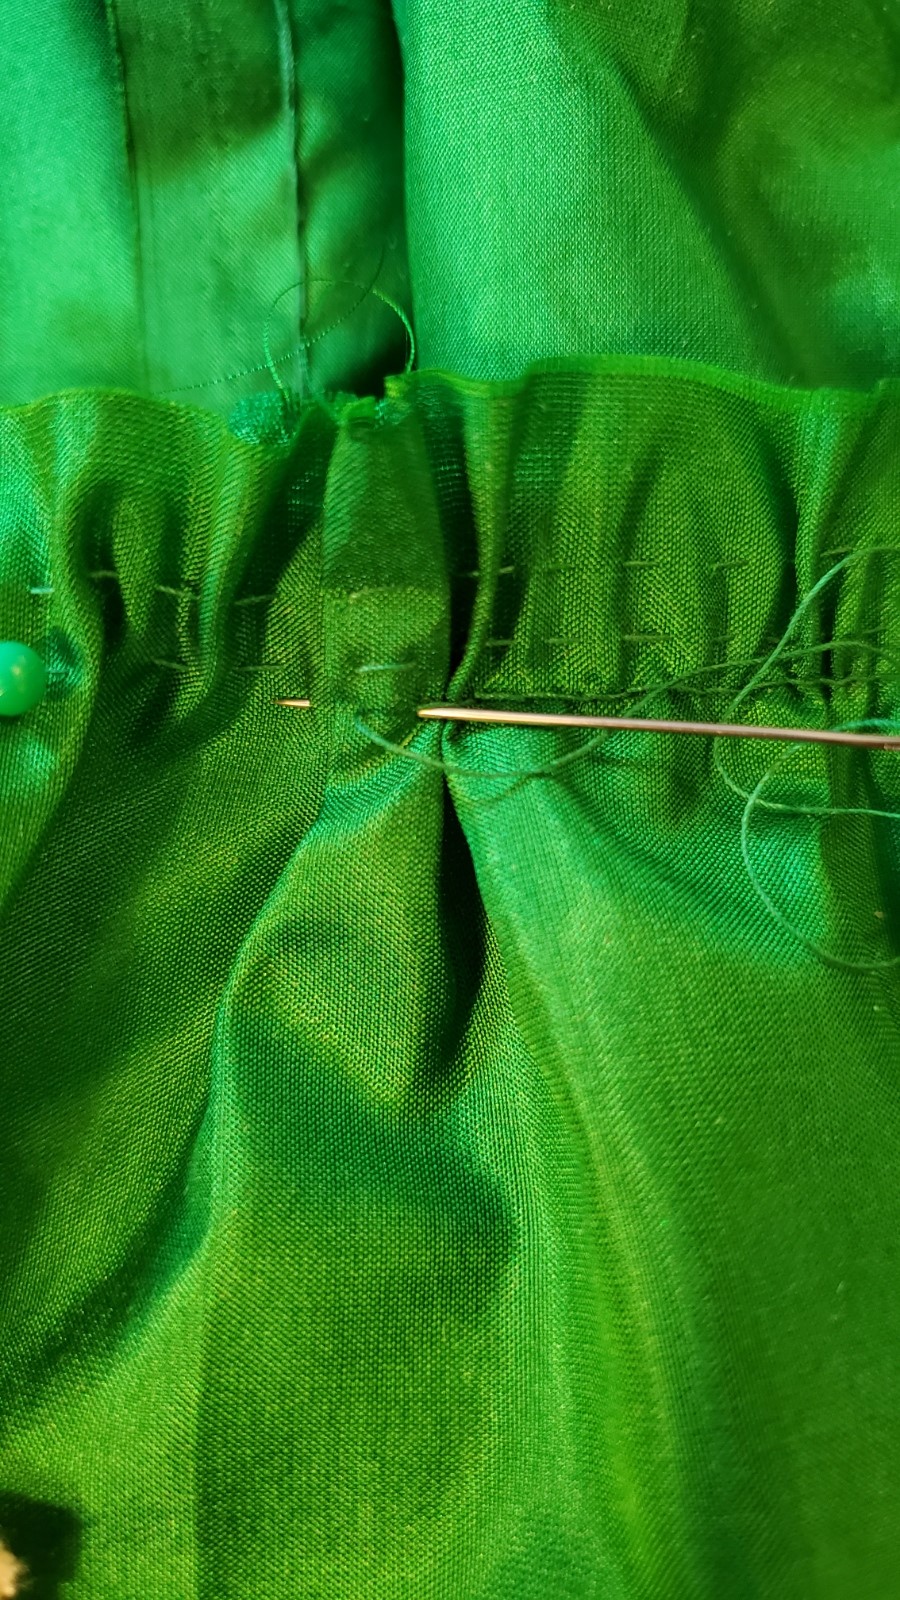
At the bottom, I sewed two rows of gathering stitches, leaving the ends of the threads unknotted. Pulling both threads, I gathered the bodice to fit the front of the skirt and pinned it into place with right sides together.
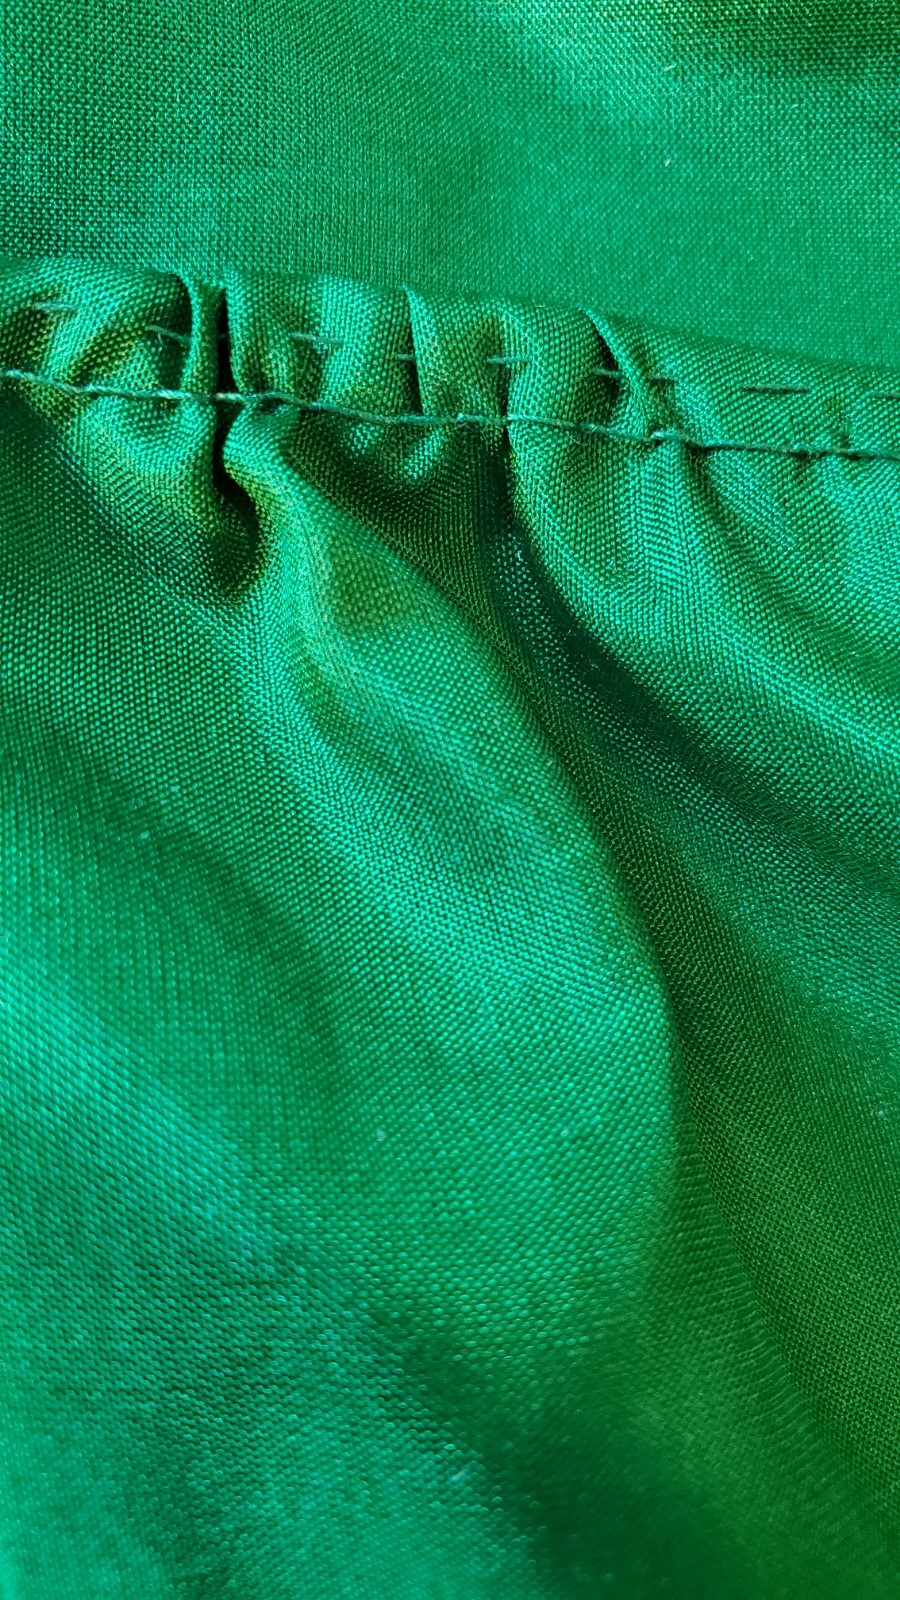
With the gathered bodice pinned to the skirt front, I stitched a row of back stitches underneath both of the gathering stitches. By doing this, I’ve hidden the running stitches from view.
To enclose the raw edge, I folded the ends in on itself and hem stitched the end, making sure to gather thread on the seam allowance (the portion of the fabric above my back stitch) so no stitches would be seen on the front of the gown.
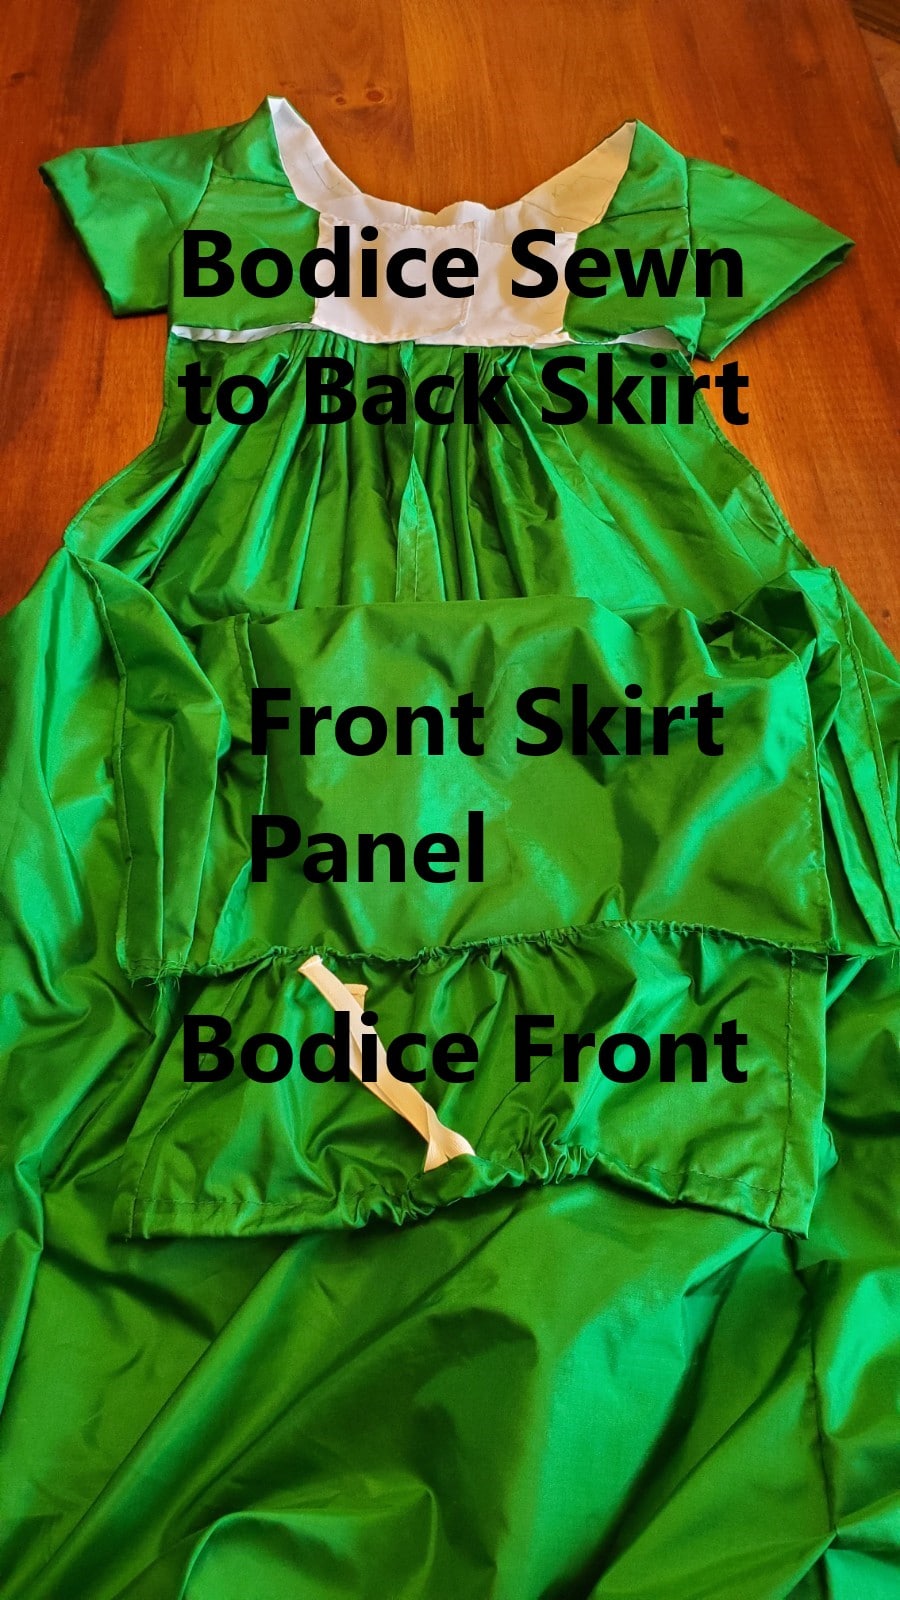
Bringing it together
To show an example of the drop front “bib apron,” let’s take a closer look.
The Home Stretch
Dear Reader, we are almost done. Just a few more steps stand in our way of completion. Stay tuned for the final chapter of “A Stitch is Worth a Thousand Words.”
From History From The House